
An electric tracked AMR built for unpaved terrain.
Built on the HAWE Mattro ROVO tracked-vehicle platform with MYBOTSHOP’s own ROS 2 layer on top — dual 7.5 kW electric drive motors, an integrated low-CG lithium battery, and an IP65-sealed chassis designed for high sub-zero temperatures, popular with mountain rescue and expedition vehicles.
From power-on to first drive
Enough to go from a cold ROVO2 to a robot you can drive — power-on, the webserver login, charging, and the emergency stop.
Power on
Ensure the emergency stop is released, then press the main power switch. The system takes roughly 30–60 seconds to boot. Verify status via the webserver or SSH once it's up.
Log in to the webserver
Open http://192.168.131.1:9000 from a device on the robot's network and sign in with admin / mybotshop. From there: 3D visualization, joystick teleop, service start/stop, map view, battery monitor, rosbag recording and VNC.
Emergency stop
Pressing E-Stop immediately cuts all motor power and parks the robot safely; services keep running but motion commands are ignored. To resume: clear the emergency condition, release the button, then reset the gear to neutral and re-engage.
Charging
Power off the robot, connect the charger to the charging port, and monitor charging status via the charger LED. Disconnect once fully charged.
Power off
Set the gear to neutral (gear 0), stop any running applications, then press the main power switch to turn off.
Software version v2.0 (December 2025) runs Ubuntu 24.04 LTS with ROS 2 Jazzy, pre-installed and started automatically on boot via systemd. A separate legacy quick-start for customer units running ROS Noetic / ROS 2 Foxy (the “Rovo Barkhausen” stack) is documented in full in the PDF manual — check which stack is installed on your unit before following commands from the wrong chapter. Full manual: MYBOTSHOP ROVO2 User Manual (PDF).
Reaching the robot over Ethernet
Every device on the ROVO2's own network sits on a fixed IP — don't set your computer's address to any of them.
Network table
| Device | IP Address | User | Password |
|---|---|---|---|
| Robot MCU | 192.168.131.1 | robot | mybotshop |
| Webserver | 192.168.131.1:9000 | admin | mybotshop |
| Steamdeck | 192.168.131.150 | deck | mybotshop |
| Router (SSID) | 192.168.131.200 | SSID | mybotshop |
| Router (Web UI) | 192.168.131.200 | admin | Admin1232025 |
| Ouster LiDAR | 192.168.131.20 | — | — |
Access at a glance
Static network connection
Connect a LAN cable to the robot's ethernet port, then configure a static IP on your computer for the first connection.
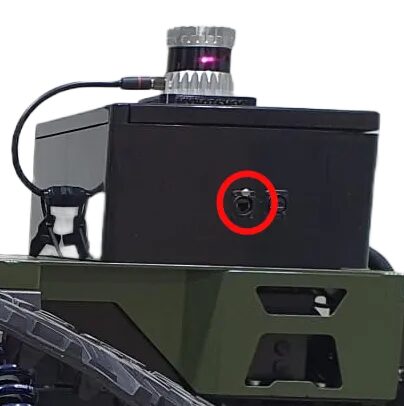
1. Configure your PC
Settings → Network → + (add connection) → set IPv4 to Manual → address 192.168.131.51, netmask 24 → save and restart your network.
2. Verify & connect
Check your local IP, ping the robot, then SSH in:
Warning: do not set your computer's IP to any of the robot's own reserved addresses above.
Four ways to drive the ROVO2
A twist multiplexer arbitrates between them — the emergency stop always wins, followed by the hardware joystick, then Steamdeck, web interface, and finally autonomous commands.
ROVO Controller
The dedicated ROVO hardware remote: shift gears, sound the horn, toggle lights, and hold the dead-man's switch while driving with the joystick.
Logitech Joystick
Hold Button 4 (LB) to enable movement, add Button 5 (RB) for turbo mode. Left stick Y drives linear velocity, right stick X drives angular velocity.
Web Interface
Browser-based joystick control straight from the webserver at 192.168.131.1:9000 — no extra hardware or ROS 2 install needed on the driving machine.
Keyboard Teleop
The standard teleop_twist_keyboard node, remapped onto the robot's namespaced cmd_vel topic. Set gear 1 or higher first via the set_gear service.
Keyboard control keys & command priority
Keyboard teleop keys
| Key | Action |
|---|---|
| i | Move forward |
| k | Stop |
| , | Move backward |
| j / l | Turn left / right |
| u / o | Forward + left / right |
| m / . | Backward + left / right |
| q / z | Increase / decrease speed |
Twist mux priority (highest first)
Set the gear before driving: ros2 service call /$ROVO_NS/platform/set_gear rovo_interface/srv/SetGear "{gear: 1}" · return to neutral (gear: 0) when finished.
Ubuntu 24.04 · ROS 2 Jazzy · Gazebo Harmonic
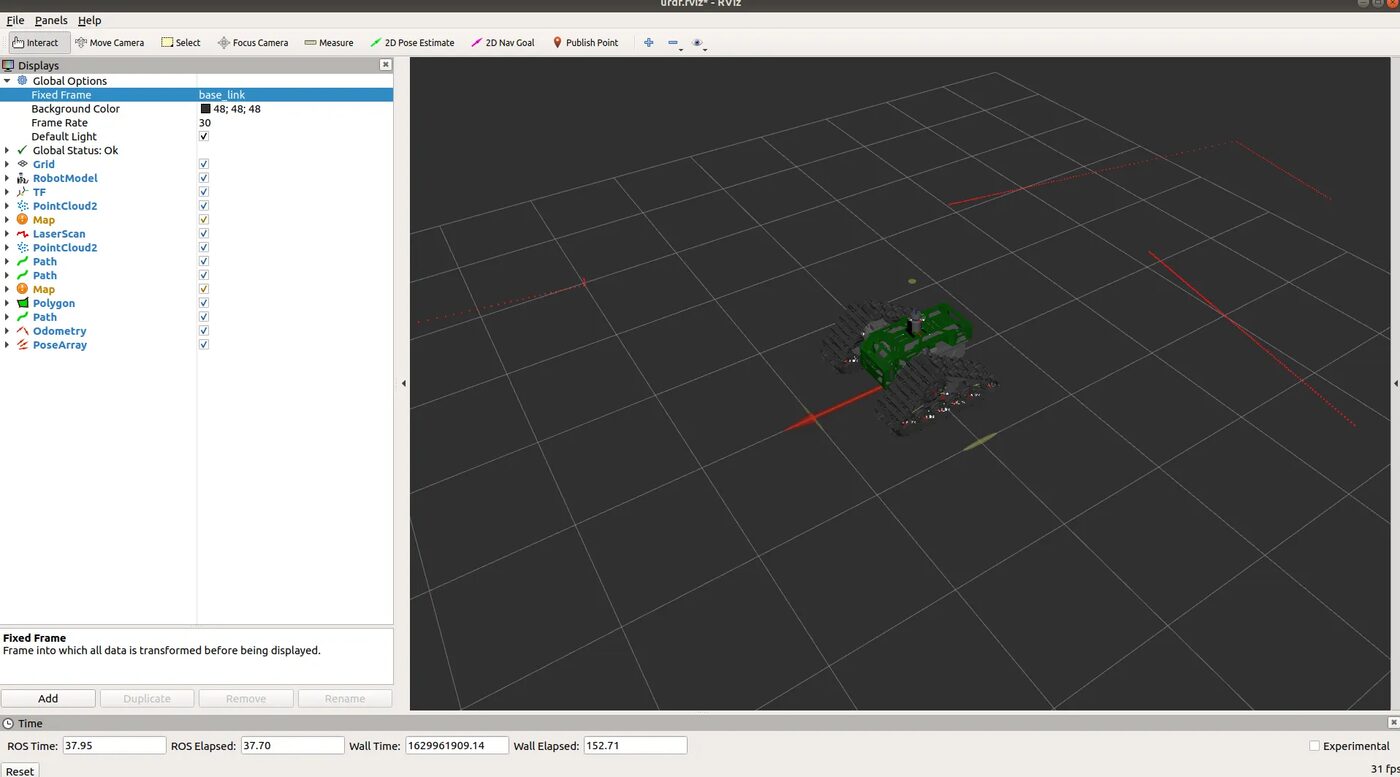
Pre-installed and started automatically via systemd. Status below is as documented by MYBOTSHOP for the current v2.0 release — some perception and autonomy features are still marked Planned.
| Feature | Status | Notes |
|---|---|---|
| Visualization (RViz2) | Available | |
| Base high-level driver | Available | Joint state, IMU, cmd, odometry |
| Description (URDF/Xacro) | Available | |
| Autostart services | Available | |
| Twist multiplexer | Available | |
| Webserver | Available | |
| Gazebo Harmonic simulation | Available | |
| LiDAR (Ouster) | Planned | |
| Depth camera (RealSense D435i) | Planned | |
| SLAM | Planned | |
| Odometry navigation | Planned | |
| Map navigation | Planned |
What autostarts on boot
rovo_platform.service
Platform driver — CAN bus communication, motor control, odometry and IMU publishing over a 500 kbit/s CAN interface (can0).
rovo_webserver.service
The Flask-based web control interface described in the Interface Tour below, serving 192.168.131.1:9000.
rovo_controller.service
Joystick input and the twist multiplexer that arbitrates between all teleoperation and autonomy sources.
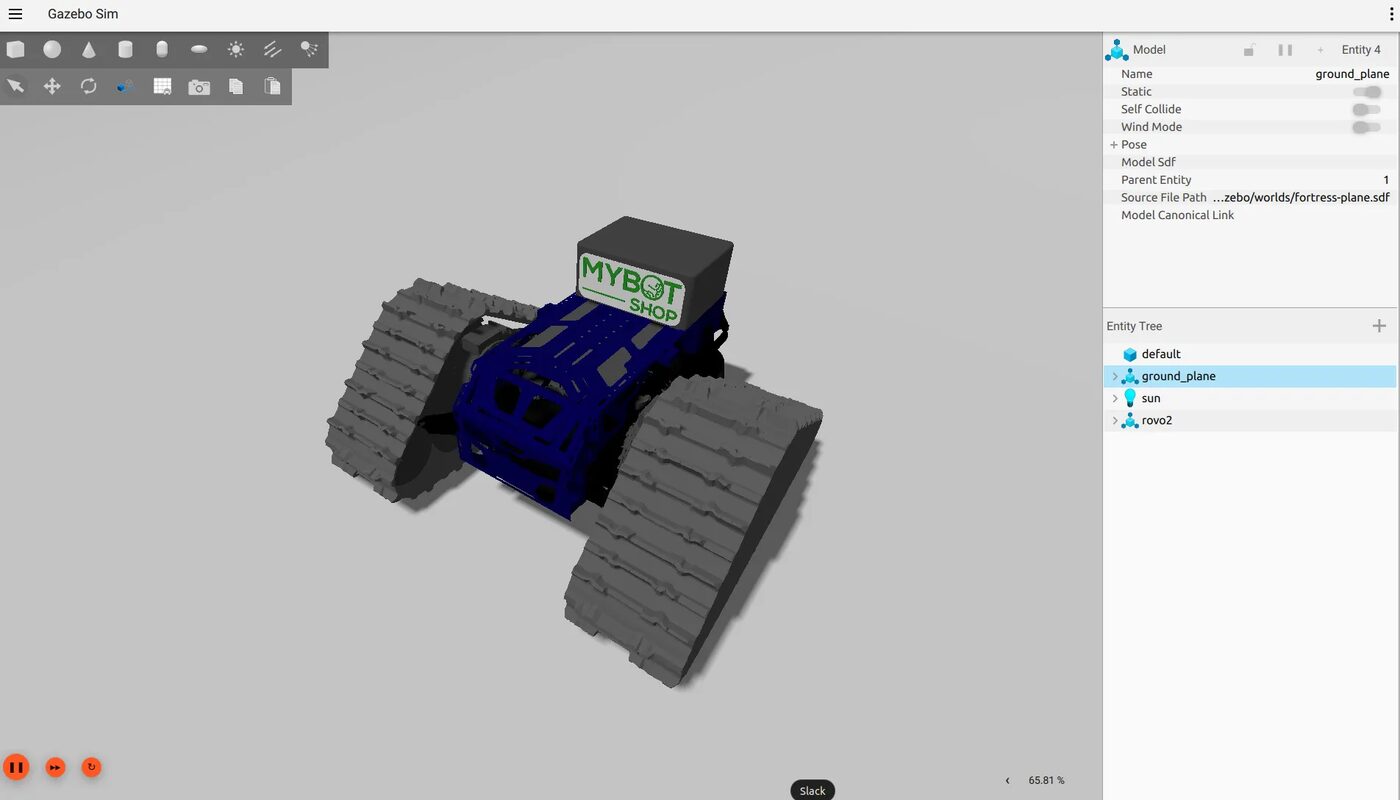
Gazebo Harmonic
Three worlds ship with the platform. Due to simulation limits, the track treads contact the ground directly rather than the physical track surface, and simulation is computationally heavy — a powerful computer is recommended.
What the platform can carry
The base ROVO2 ships with a platform IMU and BMS battery state; these accessories extend perception and positioning.

Ouster OS1-64 LiDAR
3D perception and mapping, default IP 192.168.131.20. Publishes /ouster/points, /ouster/scan and /ouster/imu.
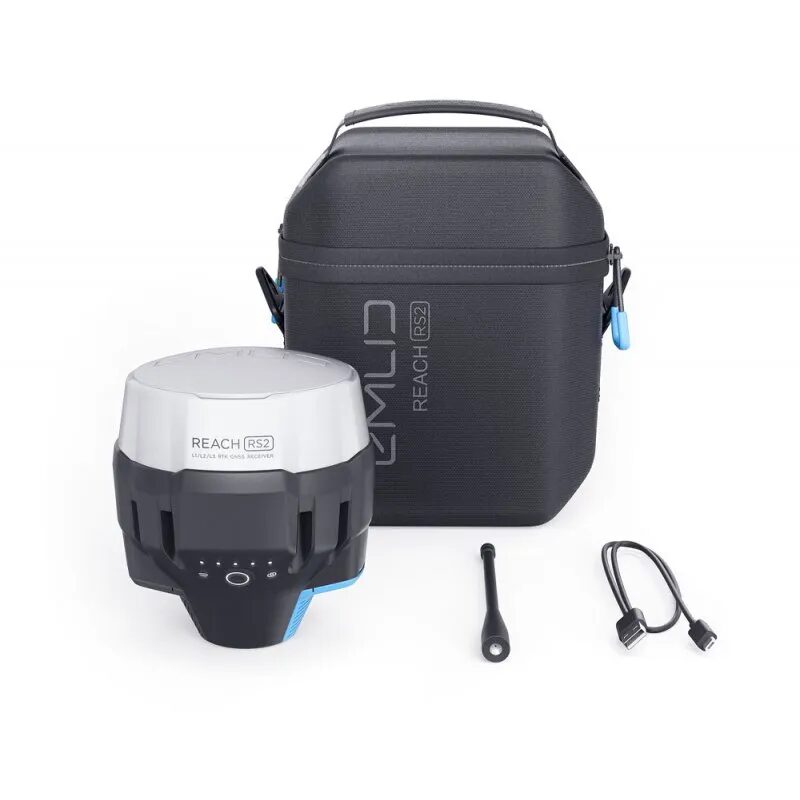
Emlid Reach RS2 GNSS
High-precision RTK GPS for outdoor navigation and waypoint recording. Connects over its own WiFi hotspot (SSID Reach) via the ReachView 3 app.
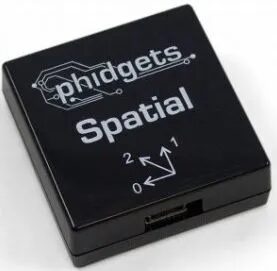
Phidgets Spatial IMU
Optional external IMU for enhanced orientation accuracy, alongside the platform's own built-in IMU.
Intel RealSense D435i depth camera and SICK multiScan LiDAR mounts are also present in the robot description (xacro), each marked Planned in the current feature table above.
See it in the browser
A guided tour of the ROVO2 webserver, straight from the driver package's own documentation.
Manuals, ROS 2 docs & robot description
Everything needed to operate the ROVO2 safely, develop against its ROS 2 stack, or bring its model into your own tooling.
ROVO2 ROS Documentation
The source documentation this page and the PDF manual are built from, including the full ROS 2 package reference and the legacy Rovo Barkhausen (ROS Noetic / Foxy) quick-start appendix.
Open docs →MYBOTSHOP ROVO2 User Manual
A single self-contained manual covering everything on this page in depth: network/SSH quick start, power & charging, safety guidelines, the full ROS 2 Jazzy software reference, hardware specifications, and the legacy ROS Noetic / Foxy quick-start as an appendix.
Download PDFROVO2 Robot Description (URDF)
MYBOTSHOP's rovo_description package: the xacro robot description (chassis, tracks, control box and sensor mounts for the D435i, Emlid, Ouster and SICK multiScan), GLTF meshes, package.xml and the robot-view launch files. Every joint is fixed — the same rigid geometry rendered live in the viewer above, exported to STL there for the browser.
Product manuals for the underlying HAWE Mattro ROVO platform are customer-only — contact MYBOTSHOP for access.
If something goes wrong
Two steps, in order — the forum first for fast community and staff triage, then a direct ticket if it needs to go further.
MYBOTSHOP Forum
Open a topic on the MYBOTSHOP Forum for community and staff triage — most software questions and known issues get resolved here first. For code-level bugs, GitHub Issues, StackOverflow and Answers-ROS are also in play.
Direct ticket & RMA
If it's unresolved, email support@mybotshop.de with the problem description and what's already been tried. For hardware issues we'll issue an RMA number and return instructions — returns without an RMA number are auto-rejected.
RMA returns ship to: MYBOTSHOP GmbH, Willy-Messerschmitt-Strasse 12, 50126 Bergheim, Germany.
We're here for the whole deployment
A fleet rollout, a new sensor variant, or a question about a specific ROS 2 package — the MYBOTSHOP team can help.
support@mybotshop.de