A compact, academic-friendly four-legged research robot.
Twelve actuated leg joints under a ROS driver stack (QRE A1) — high-level walking and low-level joint control, RealSense perception, SLAM/navigation, and Gazebo/Webots simulation, layered on stock Unitree A1 hardware by MYBOTSHOP.
From a fresh workstation to walking the A1
The A1's ROS driver runs on a remote PC or on the robot's own onboard Raspberry Pi / Nvidia board — nothing needs installing on the robot's own control board (MCU).
Install ROS & build the workspace
Install ROS Noetic (Ubuntu 20.04) or ROS Melodic (Ubuntu 18.04) on the remote PC, Raspberry Pi or Nvidia board, then create a catkin workspace with catkin_tools and build against it. Full apt/catkin command sequences for both distributions are in the PDF manual.
Connect to the A1
Join the robot's own hotspot — SSID pattern UnitreeRoboticsA1-000, default password 00000000 — or connect over Ethernet. The onboard computers are then reachable at fixed addresses on the 192.168.123.x range, all password 123 except the MCU:
Launch the driver
High-level mode brings the robot to walking control: sudo su then roslaunch qre_ros high_level_mode.launch opens the communication channel and publishes robot state on state, subscribing to cmd_vel for holonomic locomotion. Low-level joint mode (low_level_mode.launch) is also available for direct position/velocity/torque control.
Teleoperate
Drive it with the standard ROS teleop_twist_keyboard node — no extra hardware required. The robot is holonomic, so different Twist message fields map to different movement; pay attention to the holonomic vs. non-holonomic key mappings.
Keeping the legs and IMU true
Four separate calibration procedures are documented, each triggered with a different button combination on the robot or its remote.
IMU Calibration
Power on and let the robot stand, L2+B to lie down, L2+B twice more for zero-force mode, position all four legs off the ground with thighs parallel to the floor, then L1+B and wait 3 minutes before powering off.
Leg Calibration
A longer button sequence (L2+A×2, L2+B, L2+R2) releases motor tension so the knee joints can be manually aligned with the calibration tool, then locked back in with L2+L1×2, L2+R1×2, L1+R1+R2.
Remote Calibration
Press F1+F3 together on the remote to enter calibration mode (a repeating drip sound), run both joysticks to full deflection several times until the sound stops, then press F3 once to save.
Robot Drift & Falling
While trotting, hold the arrow key opposite the drift direction until it stops, then press b to save before the robot stops trotting. If the robot repeatedly falls over, check the foot paws first — they're a wear part.
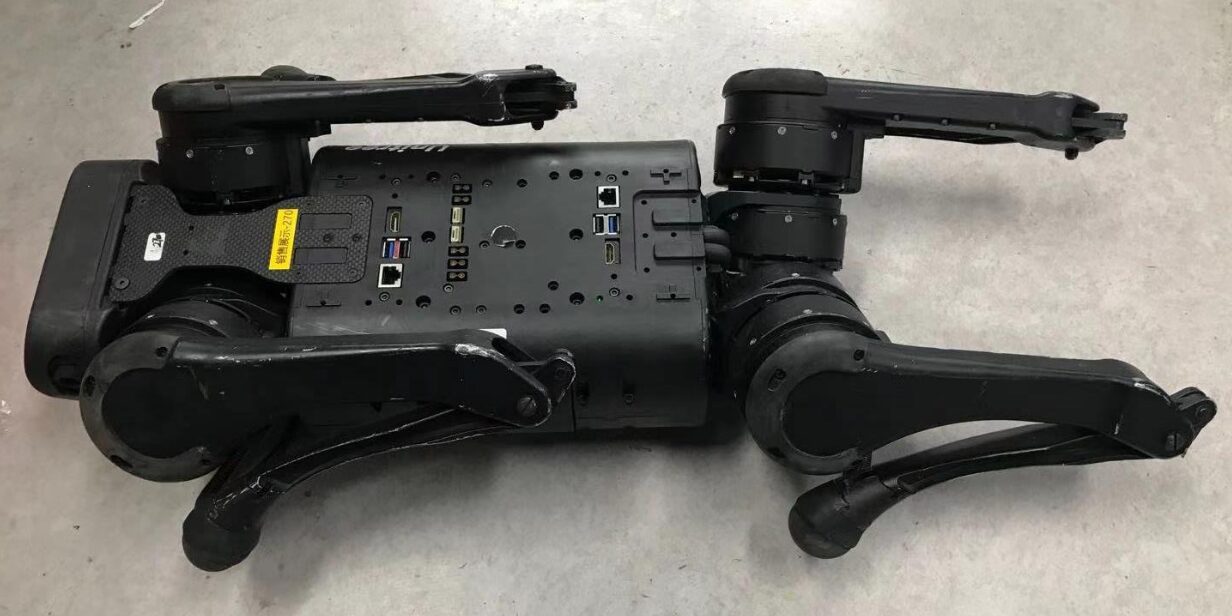
Direct power (no battery) needs a 24V/3A-capable supply connected via the XT30 port on the robot's back — development use only. Full step-by-step walkthrough, network reference and command sequences: MYBOTSHOP A1 User Manual (PDF) · Official Unitree A1 User Manual.
The QRE A1 ROS package set
A set of ROS packages layered on the A1 by MYBOTSHOP / QUADRUPED Robotics — base driving, perception, SLAM, navigation and simulation, built on top of Unitree's own SDK. The docs cover two parallel driver revisions; v3.2 is current.
A1 Driver v3.2 Current
High-level mode for walking (cmd_vel Twist control, state topic, set_body_pose service) and low-level mode for direct joint control in Position, Velocity or Torque, via a joint_cmd topic. Built against unitree_legged_sdk_3.2, Gazebo9/11.
A1 Driver v2.8 Legacy
The same high-/low-level split, but built manually against unitree_legged_sdk + aliengo_sdk, Boost, CMake and LCM on Ubuntu 18.04/ROS Melodic (Ubuntu 16.04/Kinetic untested). Kept documented for units still running it.
Perception
The onboard depth camera is an Intel RealSense D435i, driven from the Raspberry Pi via realsense-ros built from source (librealsense SDK, protobuf, libtbb-dev). Launch with roslaunch realsense2_camera rs_camera.launch enable_sync:=true and view in RViz.
SLAM
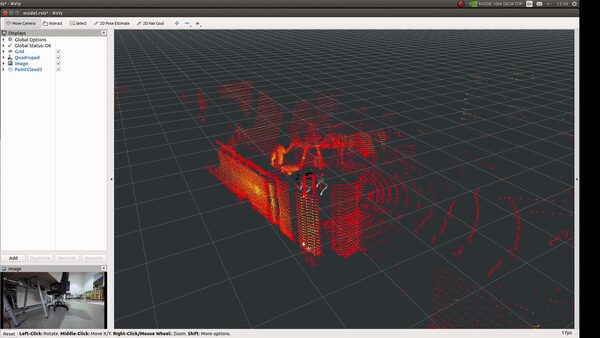
mbs_slam builds a 3D map from a lidar's /mbs/points, with optional GPS, IMU acceleration/orientation and floor-detection constraints; mbs_localization gives real-time 3D pose on /odom once a map exists. Requires a 3D lidar and IMU (GPS optional).
Navigation
The QRE Navigation package integrates robot_localization (GPS or odom fusion) with MoveBase and the TEB local planner for 2D point-to-point goals and collision avoidance. Recommended sensors: Ouster LiDAR + ZED2 camera; a Logitech controller is also supported.
Simulation
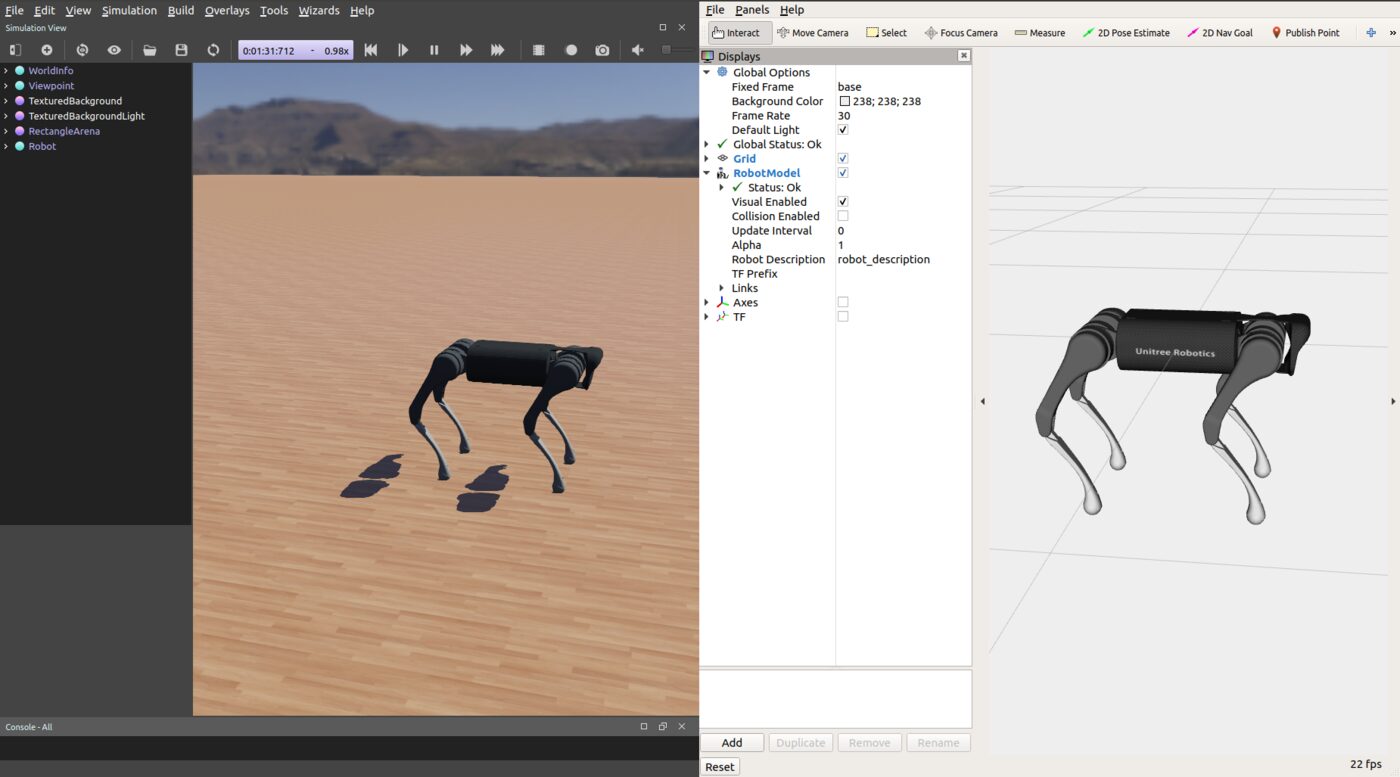
Two simulators are documented: Gazebo via qre_a1_gazebo (built on qre_controller's state estimator, controller and contact sensor) or the vendored unitree_gazebo; and Webots via qre_a1_wbsim, either ROS-driven (qre_wbs_controller) or a bare Webots-API demo.
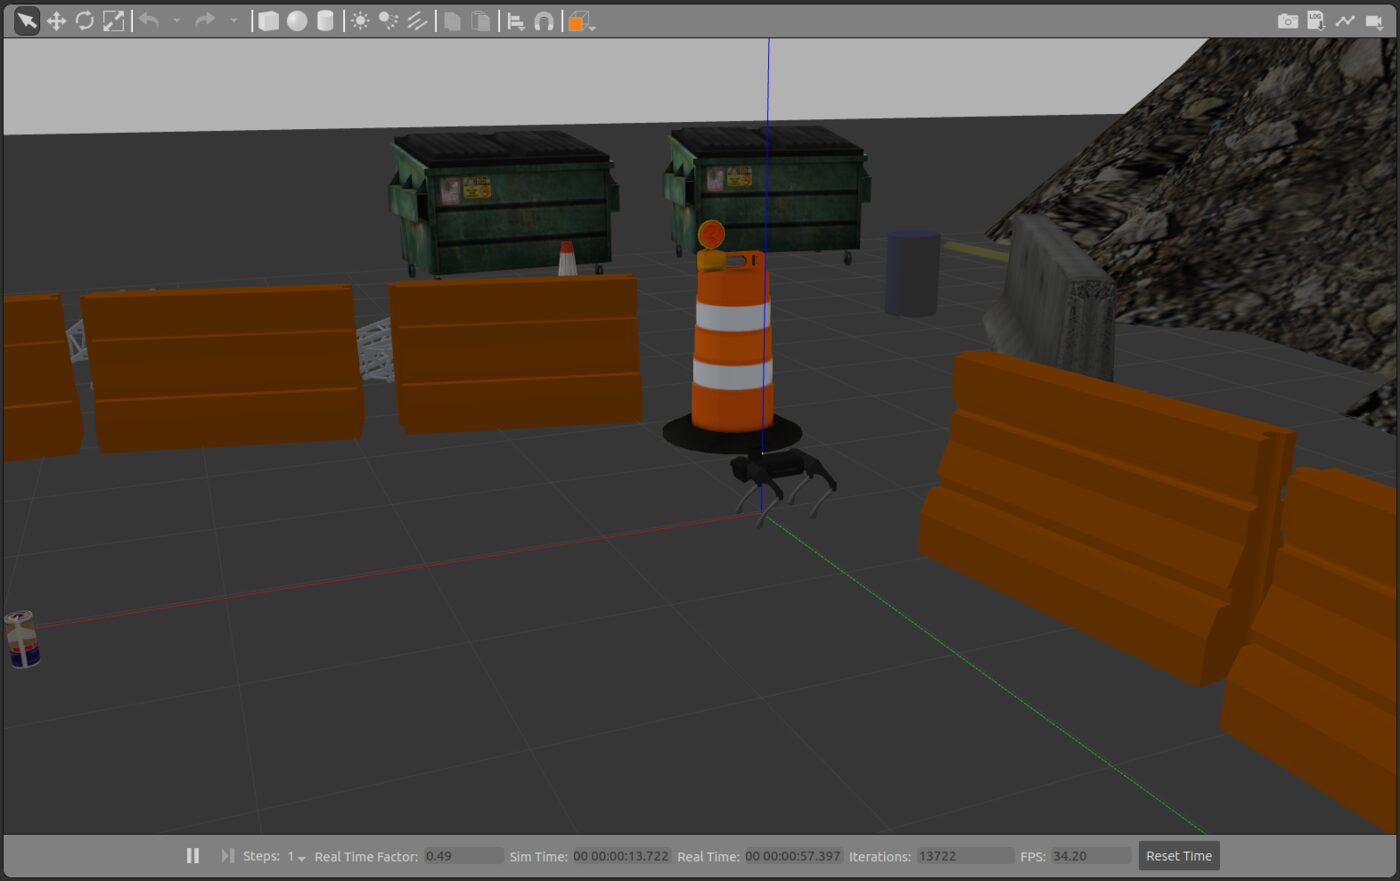
Email support@mybotshop.de for the A1 installation script that automates the full driver + Gazebo dependency install.
Field upgrades: LiDAR, camera & motors
The A1 can be extended with additional sensors, and its motor IDs can be reconfigured directly — each requiring its own software or hardware steps, documented in full in the PDF manual.
Ouster LiDAR
A full install walkthrough is documented: cloning ouster-ros into a third_party workspace folder, setting the sensor's static IP via set_static_ip.py, and a sample ouster.launch configuring the sensor hostname and UDP destination. Verify with roslaunch ouster_ros ouster.launch viz:=true.
ZED2 Camera
Requires CUDA 10.2 on the Nvidia Xavier board (installable if missing), the ZED SDK for Ubuntu 18.04, and building the ZED ROS wrapper. Verify with roslaunch zed_wrapper zed2.launch and roslaunch zed_display_rviz display_zed2.launch.
Changing Motor IDs
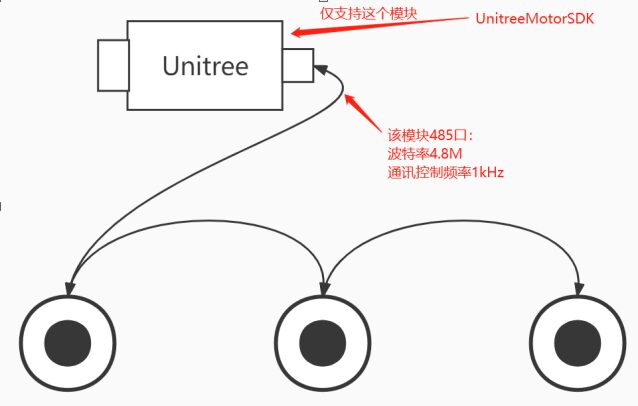
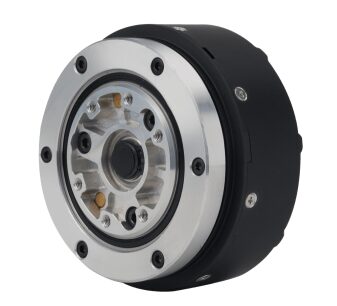
Each A1 motor (33.5 Nm max torque, RS-485, up to 3 kHz comms) needs a unique ID on its daisy-chained bus. Build the Unitree Actuator SDK's A1B1 branch, run changeID over a USB‑to‑RS485 adapter, and set the ID by counting shaft-rotation "jerks": one turn = Hip (0), two = Thigh (1), three = Calf (2).
Updating the URDF
Sensor upgrades need matching URDF changes in qre_a1_description — add joints/xacros in xacro/accessories.xacro and toggle the corresponding environment variables in config/robot/qre_a1 to enable or disable the extra links in the final URDF.
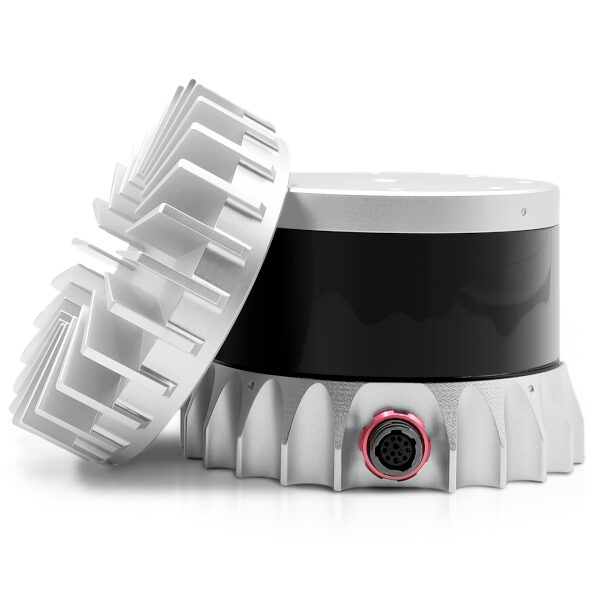
Both sensor upgrades require workspace-level software changes beyond the base install — full command sequences and the sample ouster.launch XML are in the PDF manual.
Manuals, apps & robot description
Everything published for the A1 so far — the manufacturer's own manuals and apps, the MYBOTSHOP manual, the SDK repository, and the robot description package.
Official Unitree A1 User Manual
The manufacturer's own A1 user manual, mobile apps and SDK, plus the manufacturer's own (Chinese-language) documentation portal for deeper reference.
Open manual → Unitree SDK v3.2 on GitHub →MYBOTSHOP A1 User Manual
A single self-contained manual: ROS Melodic/Noetic install walkthrough, quick start, network setup, all four calibration procedures, the full QRE A1 ROS package reference, and the LiDAR/camera/motor-ID field-upgrade procedures.
Download PDFMobile Apps
View the robot's camera stream and control basic modes once connected to the A1's own hotspot.
Android App → iOS App (TestFlight) →A1 Robot Description (URDF)
The a1_description package — URDF, Collada visual meshes and package.xml — the same model rendered live in the viewer above. Drop it into a ROS workspace or RViz. Note: this package's package.xml declares a private license; check with support@quadruped.de before redistributing it further.
Looking for the raw Sphinx documentation, video guides, or the A1 installation script? Email us directly — the video guides referenced in the docs (robot startup, paw replacement, app walkthrough) are hosted on the manufacturer's YouTube channel.
If something goes wrong
Two steps, in order — the forum first for fast community and staff triage, then a direct ticket if it needs to go further.
MYBOTSHOP Forum
Open a topic on the MYBOTSHOP Forum for community and staff triage — most software questions and known issues get resolved here first. For code-level bugs, GitHub Issues, StackOverflow and Answers-ROS are also in play.
Direct ticket & RMA
If it's unresolved, email support@quadruped.de with the problem description and what's already been tried. For hardware issues we'll issue an RMA number and return instructions — returns without an RMA number are auto-rejected.
RMA returns ship to: QUADRUPED Robotics GmbH c/o MYBOTSHOP GmbH, Willy-Messerschmitt-Strasse 12, 50126 Bergheim, Germany.
We're here for the whole deployment
Fleet rollout, a field upgrade, or a question about a specific ROS package — the MYBOTSHOP team can help.
support@quadruped.de