
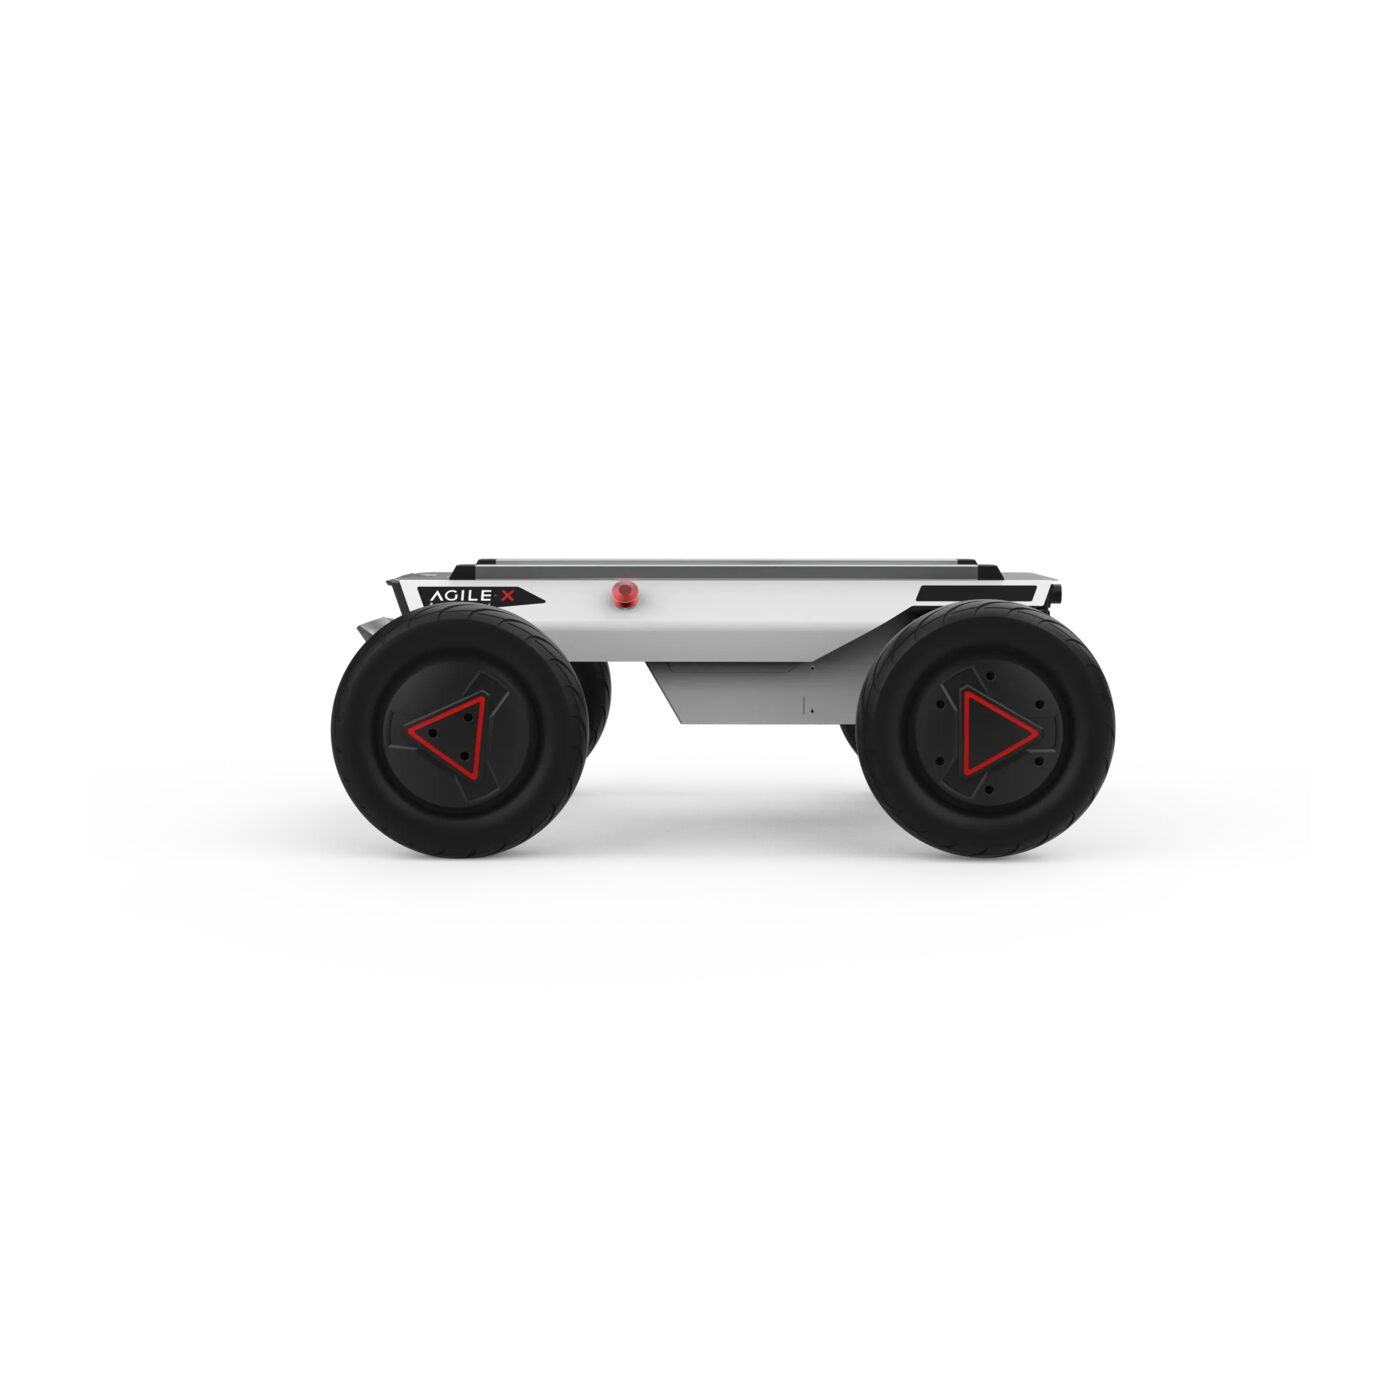
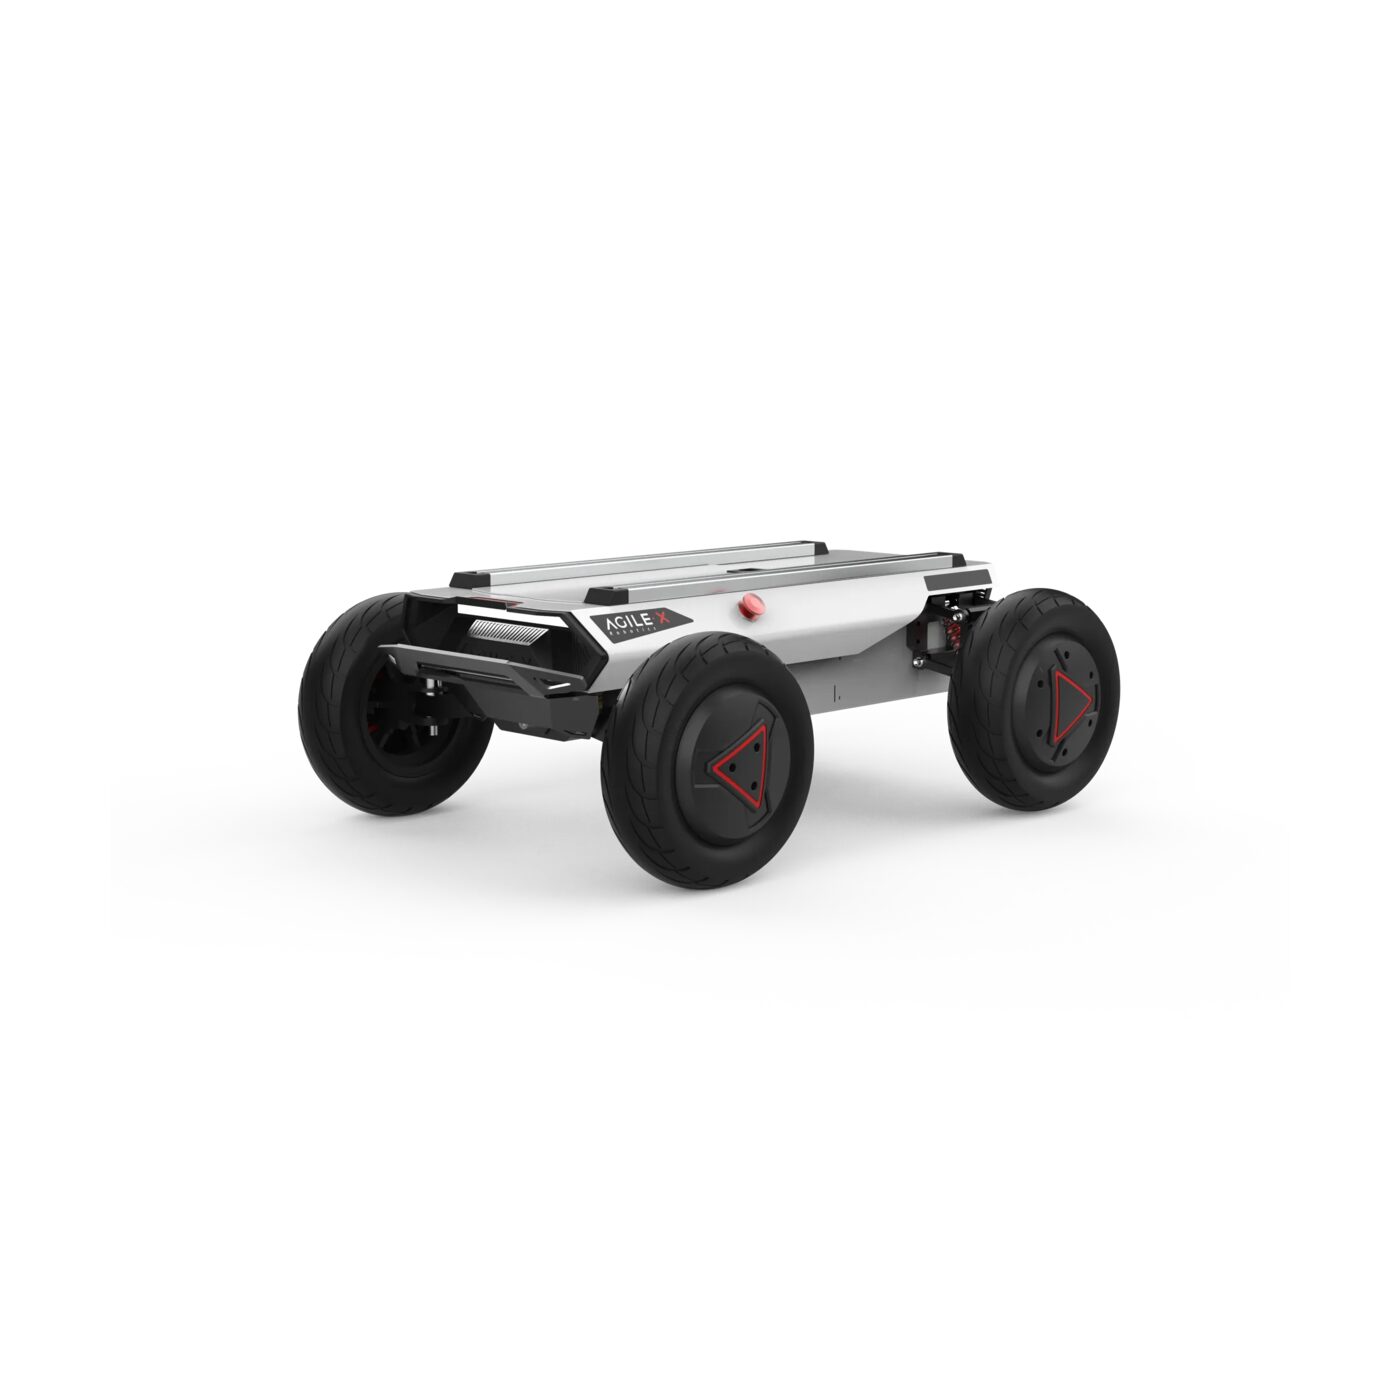
A car-like chassis for low-speed autonomous driving research.
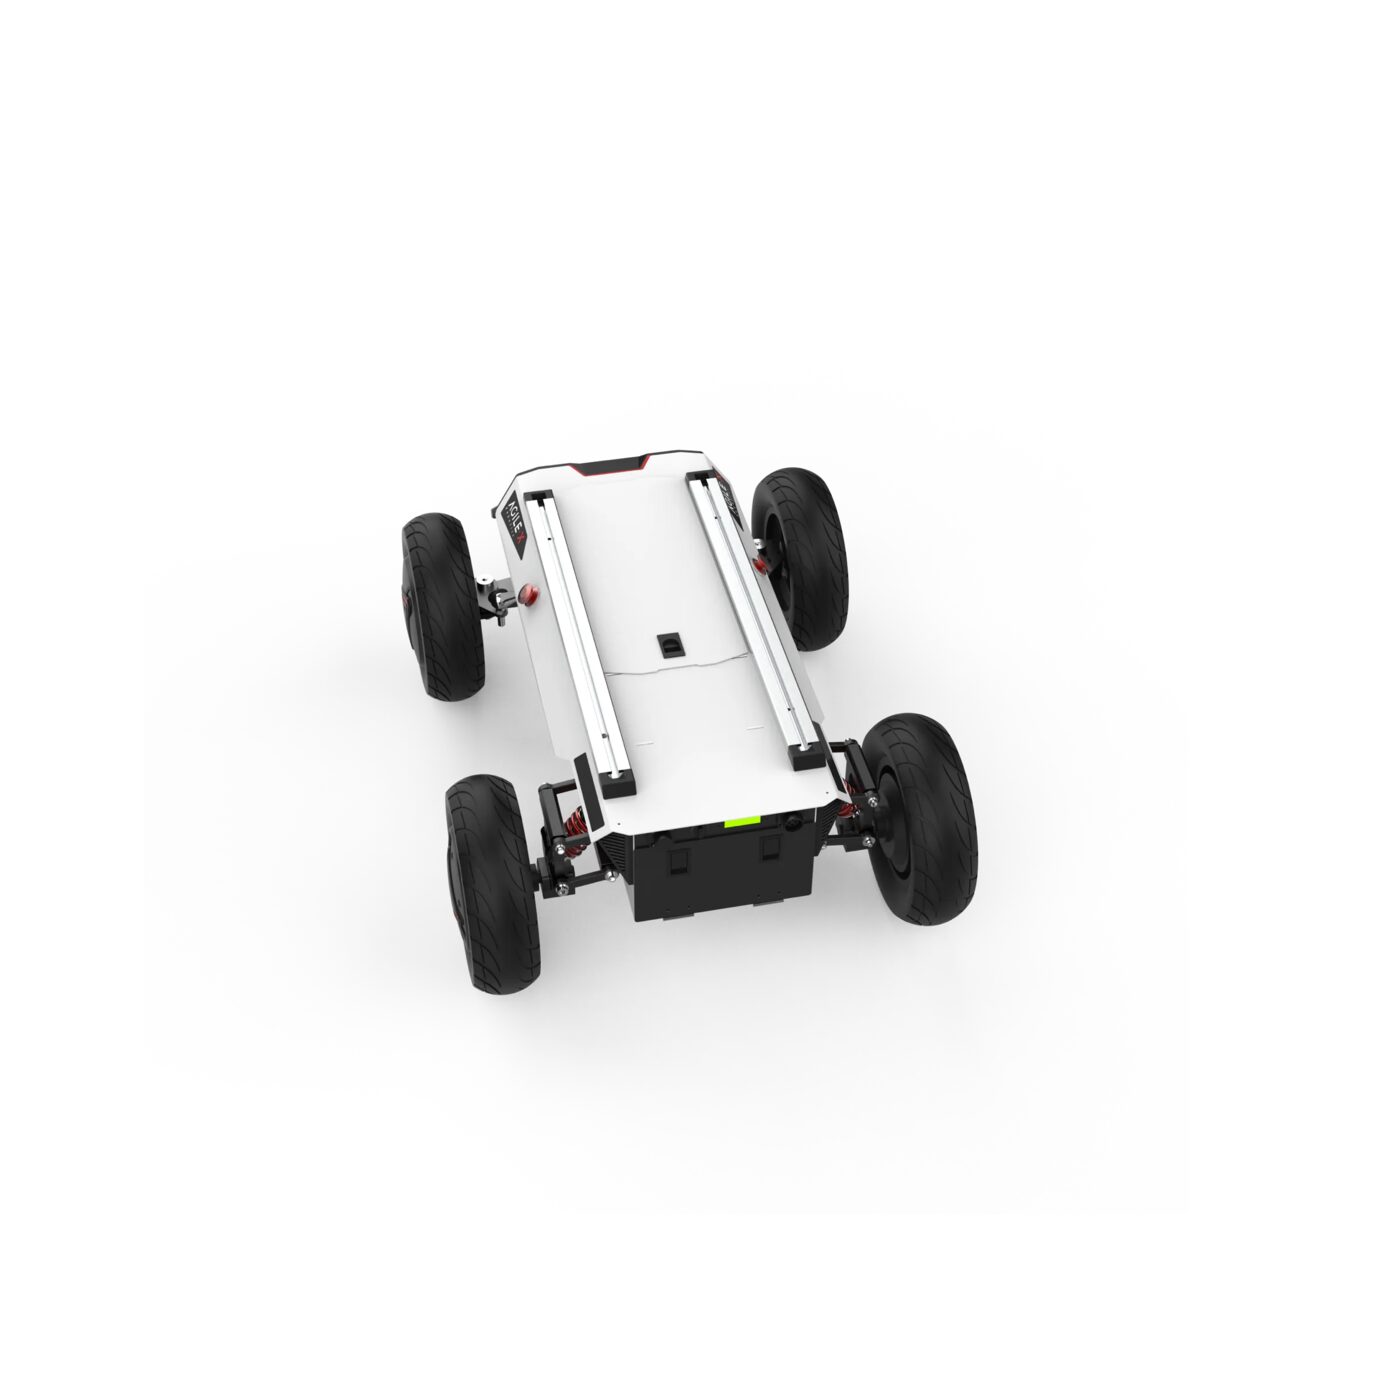
Front-wheel Ackermann steering and rocker suspension on a rugged, high-payload platform — built for autonomous driving research, indoor/outdoor patrol, environmental monitoring and general logistics, with aluminum T-slot rails and a CAN bus interface for rapid sensor and payload integration.
From power-on to first drive
Enough to go from a cold Hunter 2.0 to a robot you can drive — pre-startup checks, power-on, choosing a control method, emergency stop, and battery care.
Pre-checks & power on
Inspect the chassis for visible damage, confirm both emergency stop buttons are released, and (first use only) check that the Q3 drive power switch on the rear panel is not pressed down. Press Q3 to power on: the voltmeter shows battery voltage (normal 24–26.8 V) and the front/rear lights illuminate. A continuous beeper warning means the battery is low — charge before use.
RC Transmitter
Turn the FS transmitter on, set SWB to the middle (RC mode) position, release parking with SWA (up), then drive with S1 (throttle) and S2 (steering).
USB-to-CAN Adapter
Connect the USB-to-CAN module to the robot's expansion port, bring up the interface, then verify traffic before sending commands via the ugv_sdk.
SSH over Ethernet
Set your PC's IPv4 to Manual, address 192.168.131.51, netmask 24. Ping 192.168.131.1, then SSH in as administrator.
Emergency stop
Press the red mushroom button on top of the chassis to immediately halt all movement — the electromagnetic parking brake engages automatically. To reset, twist the button clockwise until it pops out, then reset the SWA switch on the RC transmitter before the robot will move again.
Charging & battery
The Hunter 2.0 ships with a 10A charger. Power off (Q3 off), connect the charger to the Q6 connector on the rear panel, then switch the charger on — there's no dedicated charge-status light on the chassis, watch the charger's own LED. A 30 Ah battery takes roughly 3–4 hours, a 60 Ah battery 6–7 hours. Charge to at least 50% before extended storage.
Full pre-startup checklist, parking-function behavior and RC display readout: MYBOTSHOP Hunter User Manual (PDF).
Read this before you drive it
The Hunter 2.0 is an Ackermann steering mobile robot platform — following proper safety procedure prevents injury and equipment damage.
Operating limits
| Parameter | Hunter 2.0 | Hunter SE |
|---|---|---|
| Operating temperature | −10°C to 40°C (14°F to 104°F) | |
| Maximum speed | 1.5 m/s | 4.8 m/s |
| Maximum payload | 150 kg | 50 kg |
| Maximum climb grade | 10° | 30° |
| IP rating | IP22 (not waterproof) | |
Emergency stop system
Safe operation & battery care
Safe Operating Practices
- Always release parking mode (SWA up) before attempting to drive
- Start with slow speeds while learning the controls
- Never cross the robot's path while it is moving
- Keep clear of wheels and the steering mechanism during operation
- Use the emergency stop immediately if abnormal behavior occurs
- Do not operate in wet conditions (IP22 rating only)
Battery Safety
- Use only the provided charger (10A default)
- Do not charge outside −10°C to 40°C
- Charge to at least 50% before extended storage
- Monitor charging — do not leave unattended
- Replace batteries showing signs of damage or swelling
Robotic Manipulator Safety and Autonomous Robot Safety guidelines (work area, electrical, navigation/manipulation, emergency response, data security, human interaction and residual risks) apply in full — complete text in the PDF manual.
Autostart, teleop, navigation & sensors
The Hunter ROS 2 driver stack (hunter_base, hunter_description, hunter_navigation, hunter_bringup and friends, built on AgileX's ugv_sdk) runs on ROS 2 Humble or Jazzy depending on your unit.
Autostart & Services
MYBOTSHOP platform units run the driver as a systemd service; a custom install instead uses a hunter-ros2.service unit sourcing hunter_base.launch.py. A green status means running, red means restart needed, grey means not yet started.
Teleoperation
Keyboard (i/j/k/l/,, plus u/o for curved moves on some builds), joystick via teleop_twist_joy, the FS RC transmitter, or a web joystick on RO units. Angular velocity is converted to Ackermann steering angle internally.
Visualization
A live RViz2 digital twin of the Hunter for checking joint state, TF frames and sensor data without touching the physical robot.
Navigation
SLAM mapping, odometry-only navigation, and pre-built map navigation via Nav2 — Ackermann steering needs the Regulated Pure Pursuit controller (or similar) rather than a differential-drive default.
Sensors
Built in: wheel encoders and a magnetic steering-angle encoder (2500 P/R). Supported external: Velodyne/Ouster/SICK/RPLidar LiDAR, RealSense D435/D455 & ZED/ZED2 cameras, u-blox/Emlid Reach/Fixposition GPS, and Drotek/Xsens/Microstrain/Phidgets IMUs — all via the 24V/CAN expansion interfaces.
Simulation
Gazebo simulation publishing the same cmd_vel/odom/tf topics as the real robot; NVIDIA Isaac Sim is also supported for advanced scenarios.
Sensor Mounting (Rigs)
Aluminum T-slot rails on the top panel (M5/M6 T-nuts) for LiDAR, camera and compute-box mounting, with 24V power available from the expansion interfaces at up to 15A continuous, auto-cutoff on low battery.
Debugging
Check topics and node info with the usual ROS 2 CLI, and drop to the CAN layer directly when the base isn't responding.
Building and using a map
Map-based navigation is a three-step workflow — drive around with the joystick to build the map once (recommended 0.2 m/s), then reuse it.
1. Create the map
Launch SLAM (hunter_navigation slam.launch.py), drive the Hunter around, then export the map with nav2_map_server map_saver_cli.
2. Rebuild packages
Rebuild the workspace so the new map installs: colcon build --symlink-install, then re-source it.
3. Load & navigate
Launch map_navi.launch.py and set a 2D pose estimate / nav goal in RViz2 to start autonomous map navigation.
Robotic arm integration is also supported for lightweight collaborative arms (<10 kg) via MoveIt2 — the arm's weight and reach affect the platform's center of gravity, so re-check payload and stability limits after adding one. Full package reference (topics, parameters, CAN protocol, ROS 2 Humble/Jazzy install steps): PDF manual.
HUNTER RO — the research configuration
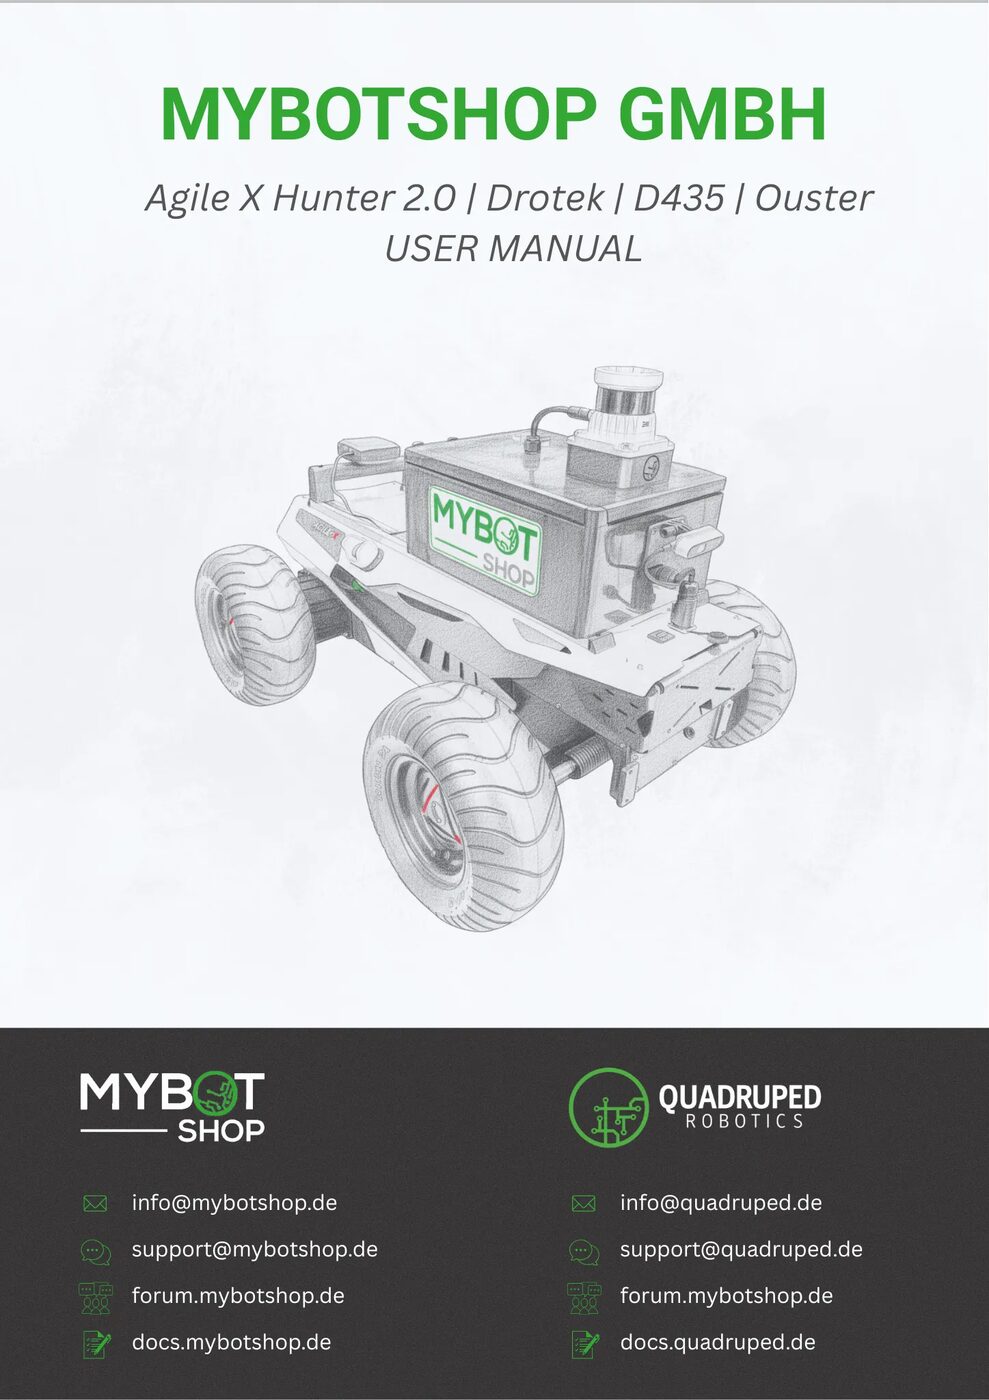
A research-oriented Hunter 2.0 configuration with an onboard NVIDIA computer, Drotek GPS, Intel RealSense D435 and Ouster LiDAR pre-integrated for autonomous navigation and perception R&D.
HUNTER RO addresses
| Device | IP | User / Pass |
|---|---|---|
| HUNTER MCU (SSH) | 192.168.131.1 | administrator / 123 |
| HUNTER MCU Web | 192.168.131.1:9000 | admin / mybotshop |
| Ouster LiDAR | 192.168.131.20 | — |
| Router Wi-Fi | HUNTERXXXXX-5G | mybotshop |
| Router Web | 192.168.131.200 | admin / Admin123 |
Set the switch to ROS 2
Drivers & sensors on RO units
Auto Drivers Startup
All drivers except the webserver stay off by default and are enabled via the webserver or the platform service. If the service status is green, don't also launch hunter_bringup manually.
Ouster LiDAR
Provides a 3D point cloud of the environment at 192.168.131.20; on by default under the platform service — only launch it manually if the auto service is off.
Intel RealSense D435
Off by default; the shipped launch file is configured for a continuous, lag-free depth stream once enabled.
NVIDIA Orin Setup
Normally pre-built by MYBOTSHOP; a from-scratch setup syncs the workspace to /opt/mybotshop, builds the gs_usb CAN kernel module, and patches the NVIDIA kernel for the RealSense camera.
See it in the browser
A guided tour of the HUNTER RO onboard webserver, straight from its own documentation screenshots.
Full HUNTER RO chapter (navigation stack, all core packages, full NVIDIA Orin bring-up): PDF manual.
Manuals, docs & robot description
Everything needed to operate the Hunter 2.0 safely, develop against its ROS 2 stack, or bring its model into your own tooling.
MYBOTSHOP Hunter User Manual
A single self-contained manual: pre-startup/power-on procedure, all control methods, safety guidelines, the complete ROS 2 software reference, and the HUNTER RO research configuration in full.
Download PDFHunter Robot Description (URDF)
MYBOTSHOP's hunter_description package: the base chassis + Ackermann steering URDF and meshes rendered live in the viewer above, plus the optional default-on R&D kit rig (RealSense D435i, Ouster OS1-64, Drotek GPS mounts) and a library of accessory sensor meshes for building your own configuration.
Looking for the AgileX ugv_sdk / hunter_ros2 upstream source, or a Hunter SE-specific datasheet? Ask us directly.
If something goes wrong
Two steps, in order — the forum first for fast community and staff triage, then a direct ticket if it needs to go further.
MYBOTSHOP Forum
Open a topic on the MYBOTSHOP Forum for community and staff triage — most software questions and known issues get resolved here first. For code-level bugs, GitHub Issues, StackOverflow and Answers-ROS are also in play.
Direct ticket & RMA
If it's unresolved, email support@mybotshop.de with the problem description and what's already been tried. For hardware issues we'll issue an RMA number and return instructions — returns without an RMA number are auto-rejected.
RMA returns ship to: QUADRUPED Robotics GmbH c/o MYBOTSHOP GmbH, Willy-Messerschmitt-Strasse 12, 50126 Bergheim, Germany. Do not ship goods to QUADRUPED Robotics GmbH Office in Leverkusen!
We're here for the whole deployment
A fleet rollout, a new sensor rig, or a question about the HUNTER RO stack — the MYBOTSHOP team can help.
support@mybotshop.de