Powering on the Husky
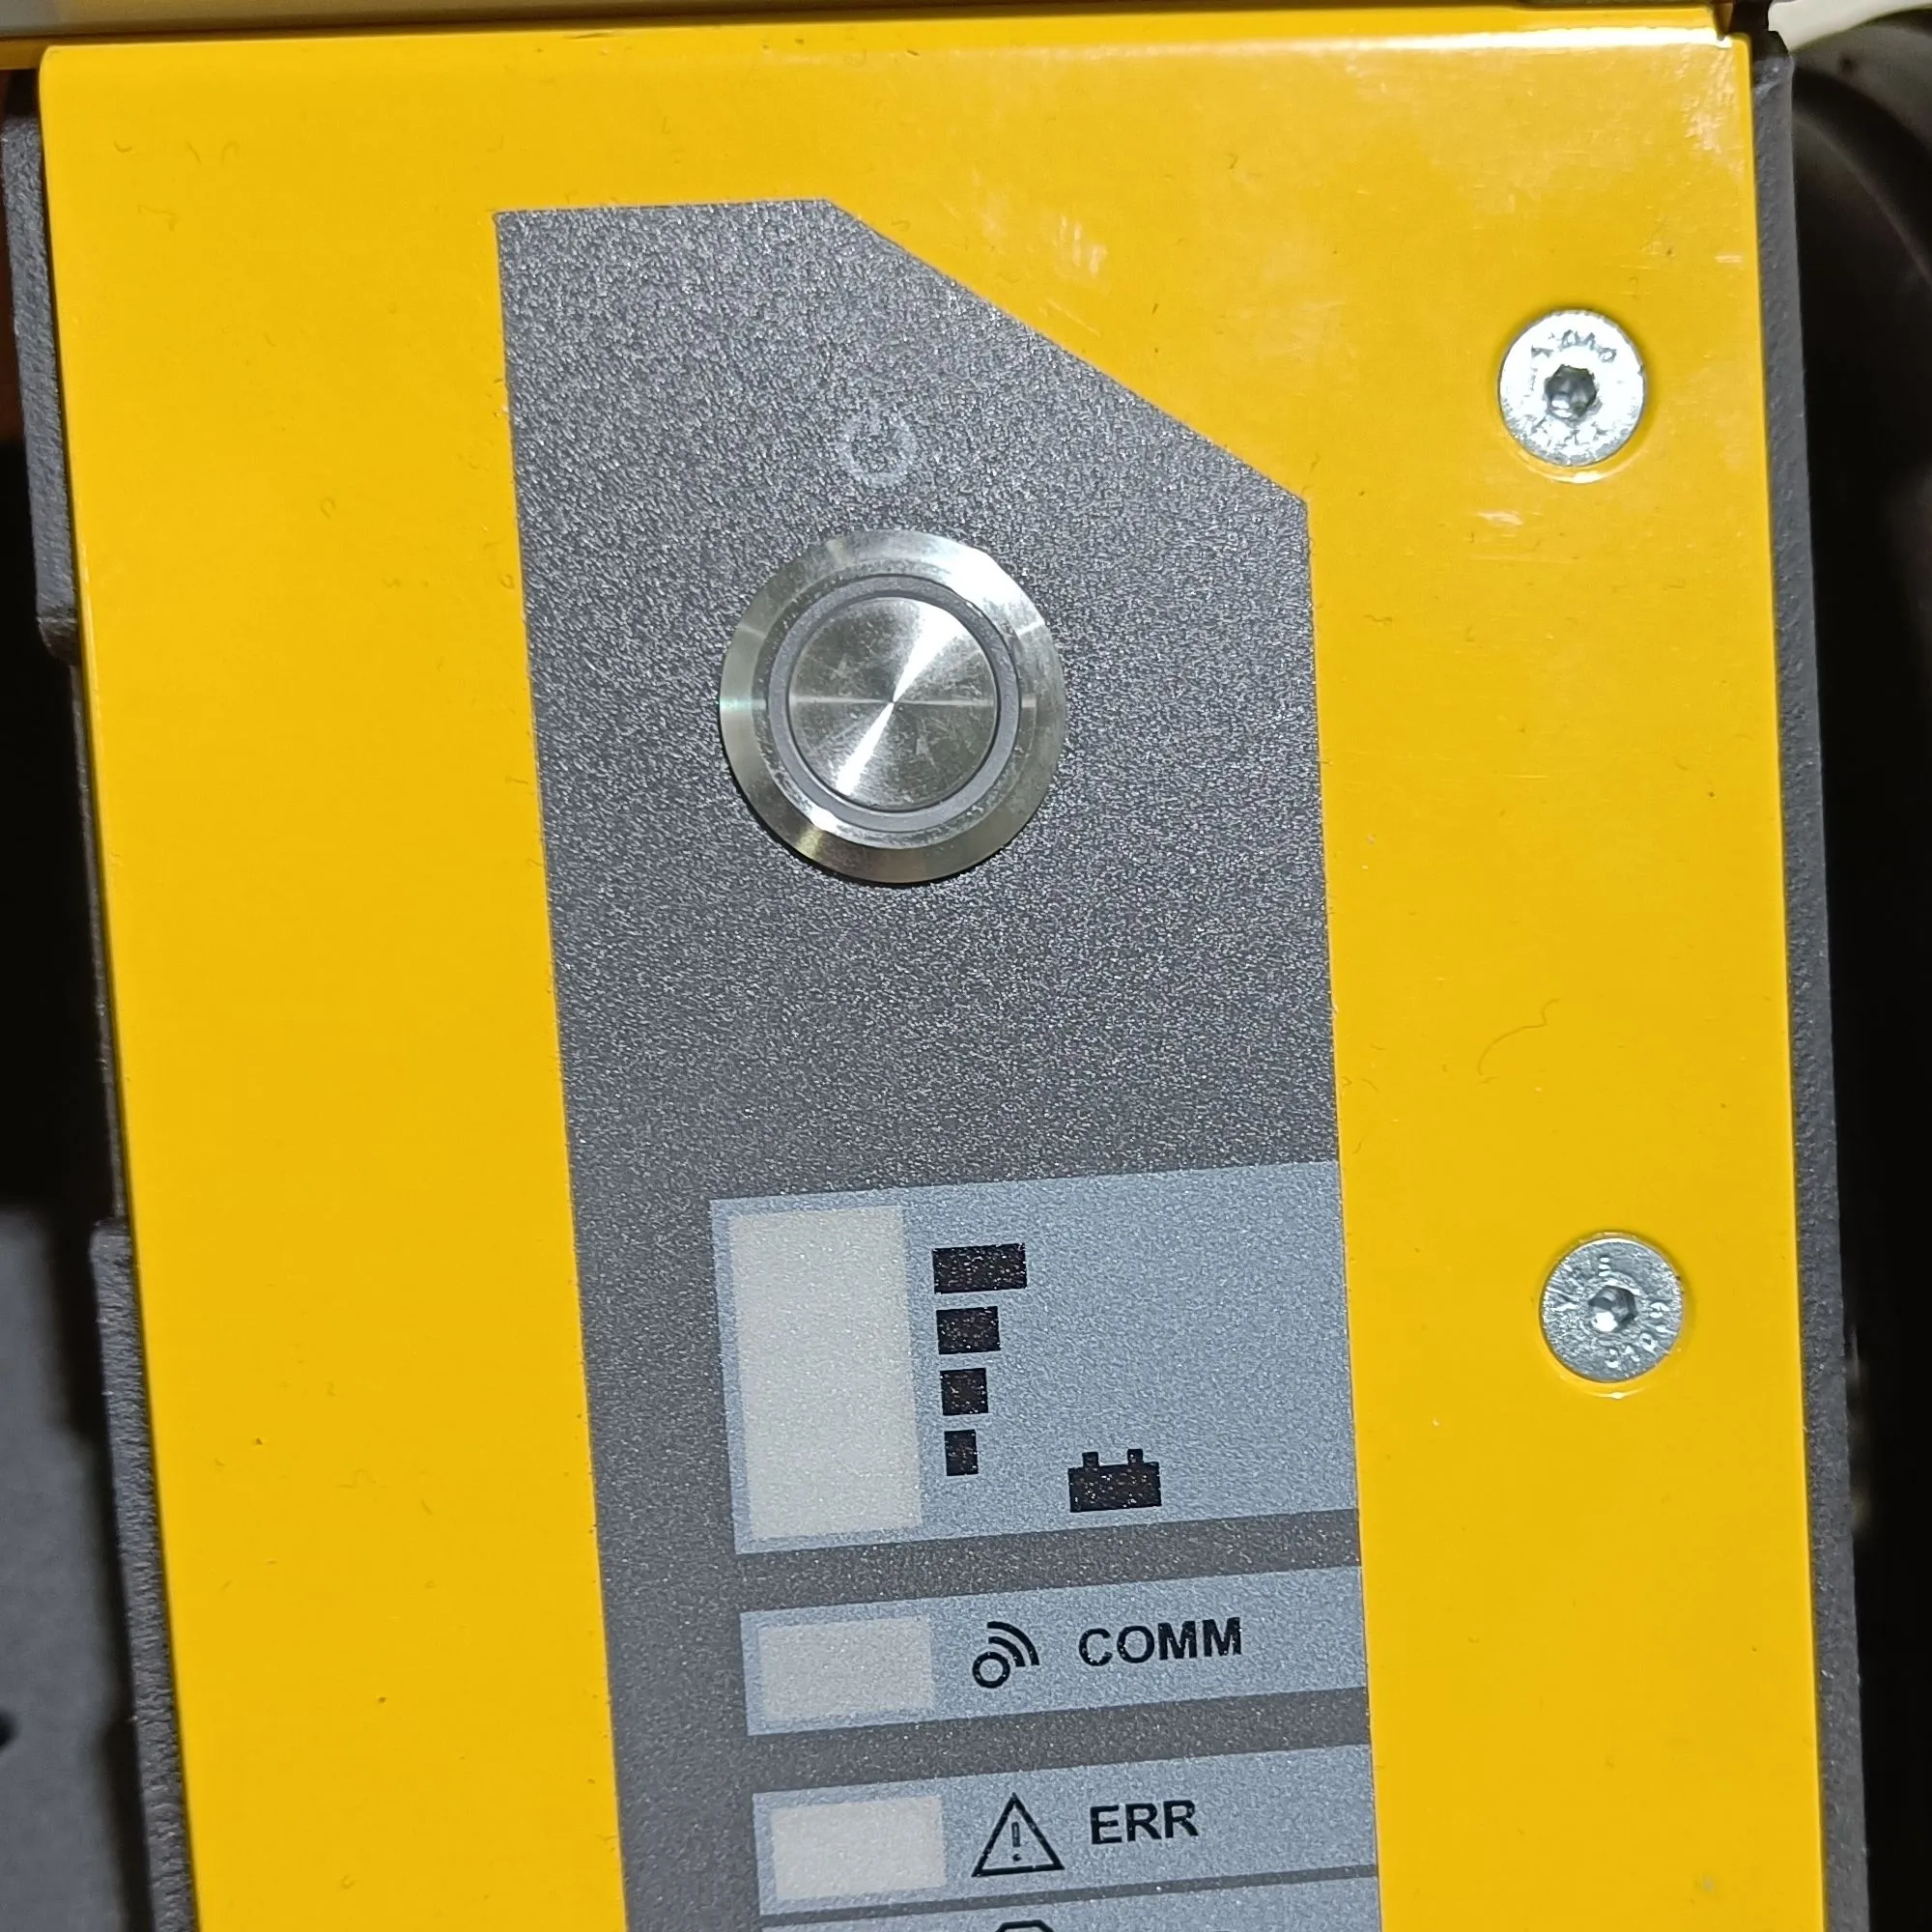
Power Button |
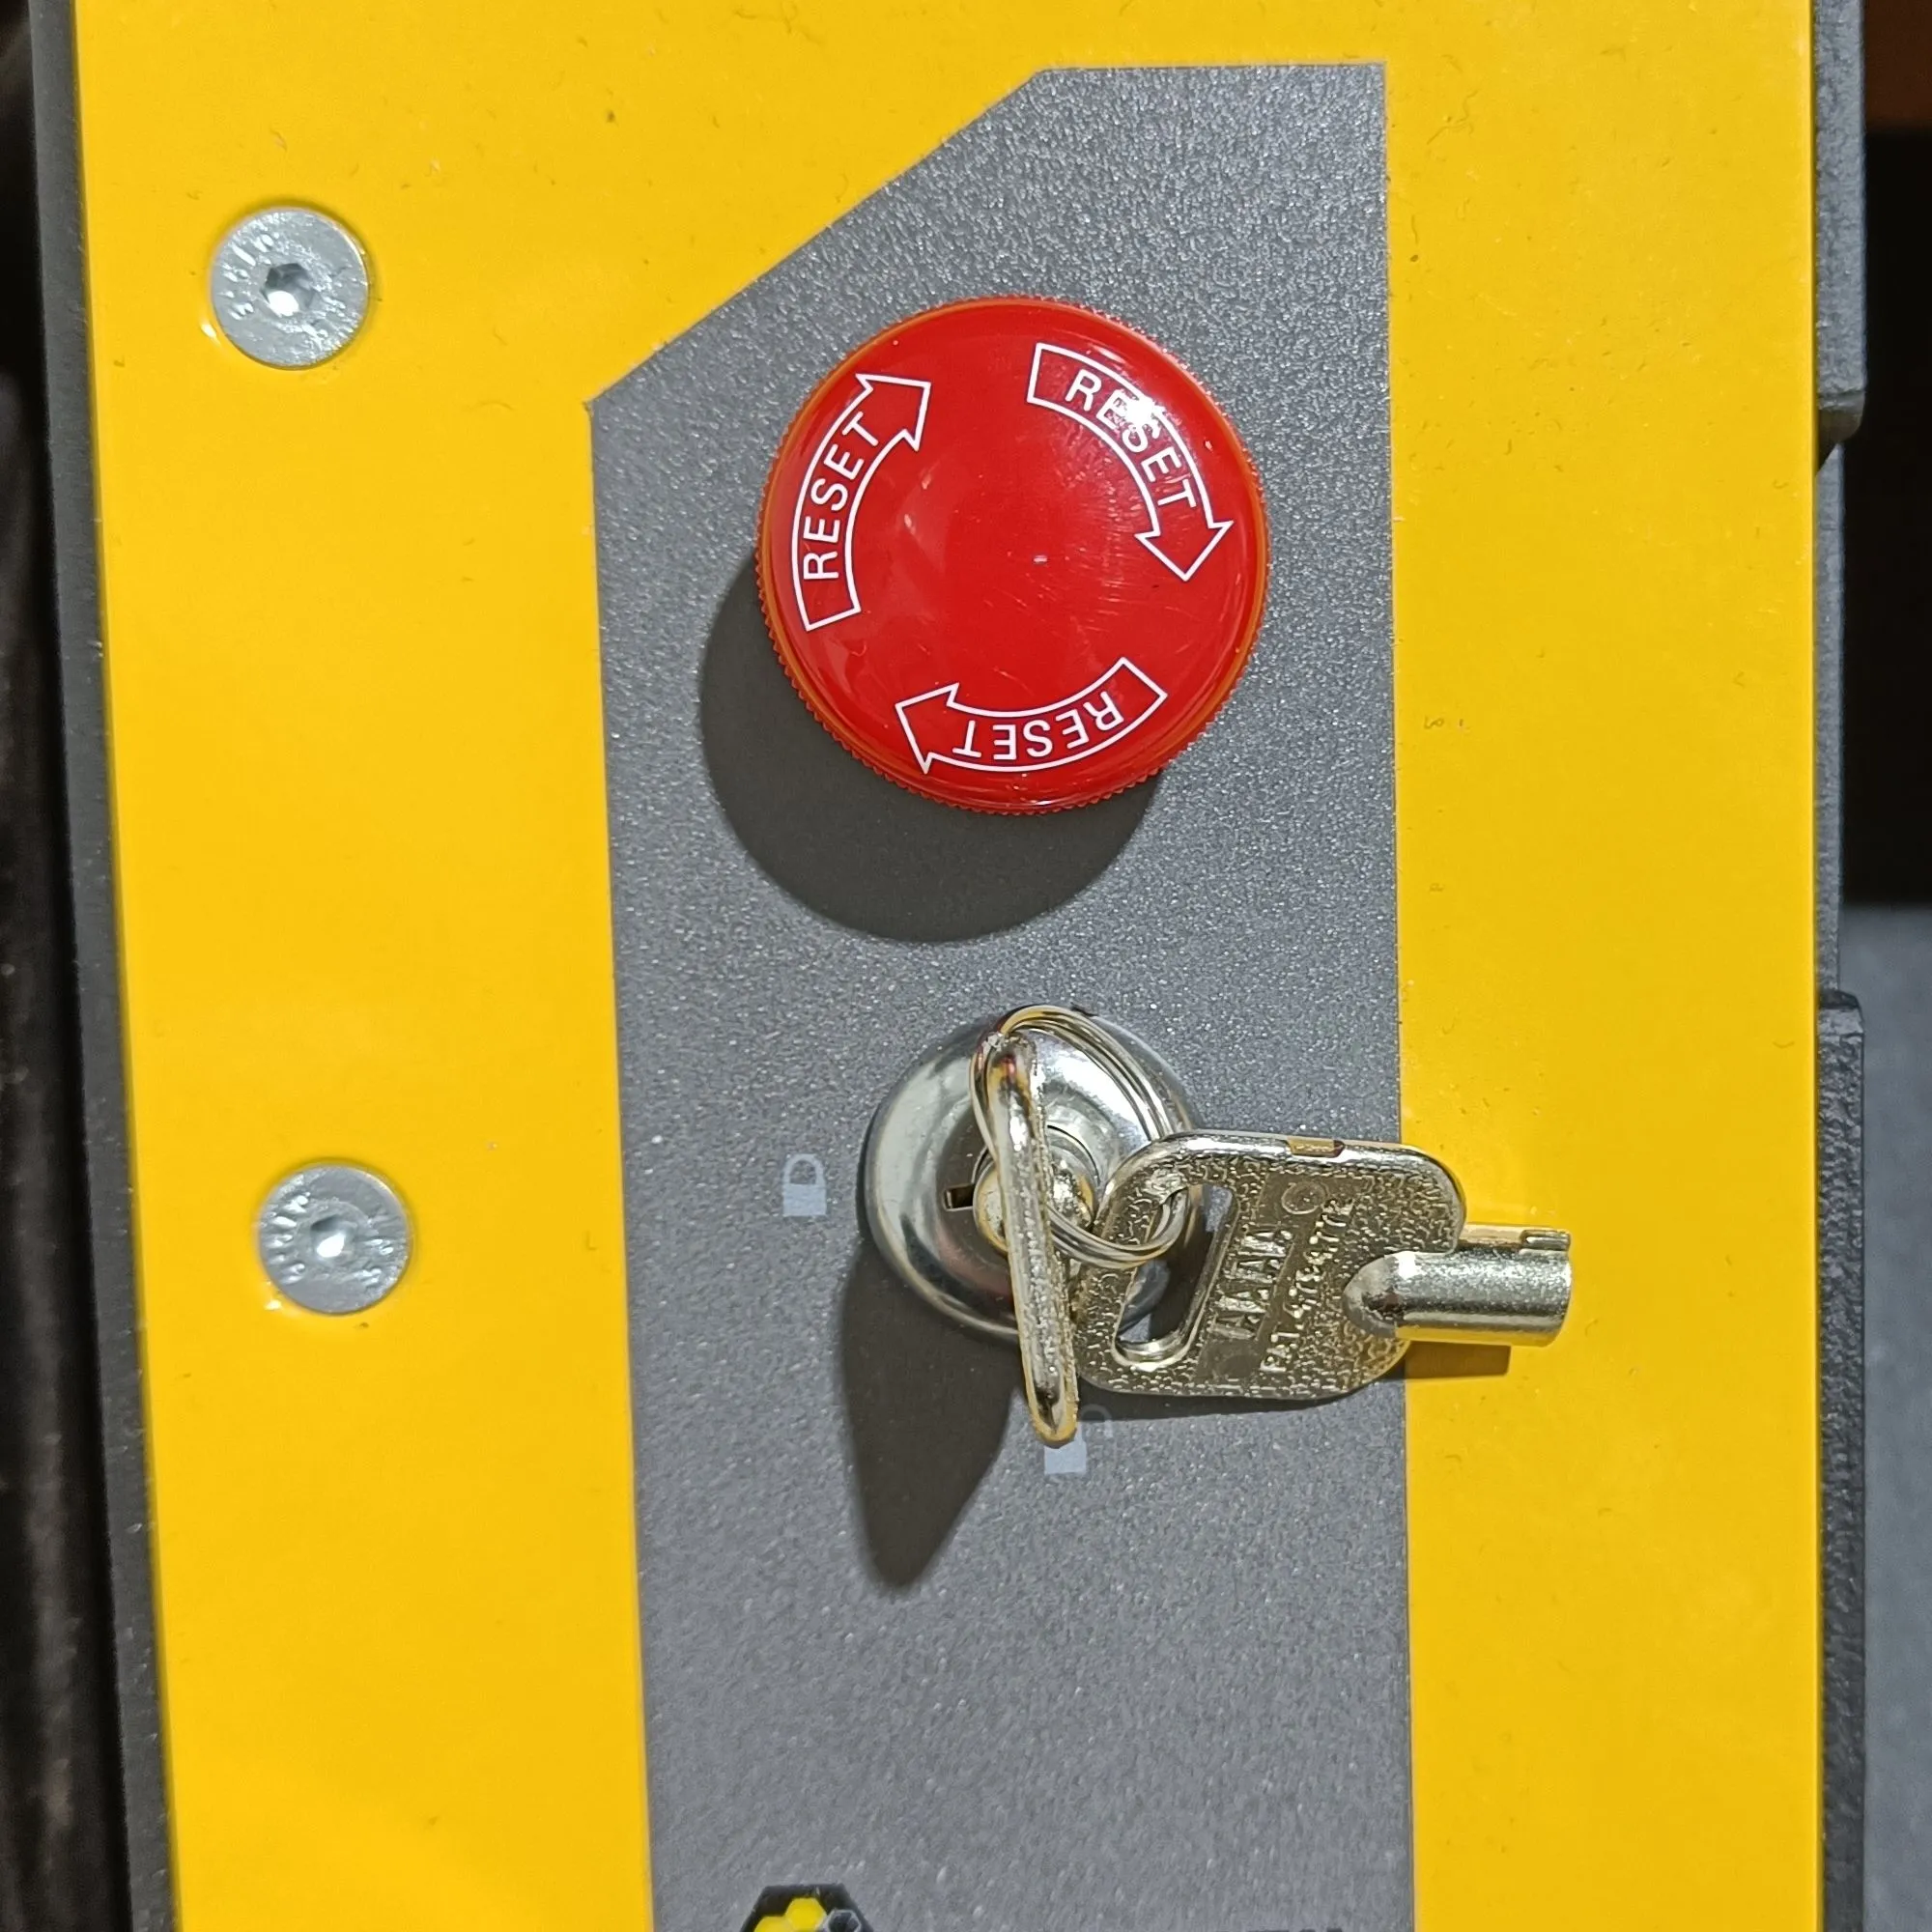
Emergency Switch Release |
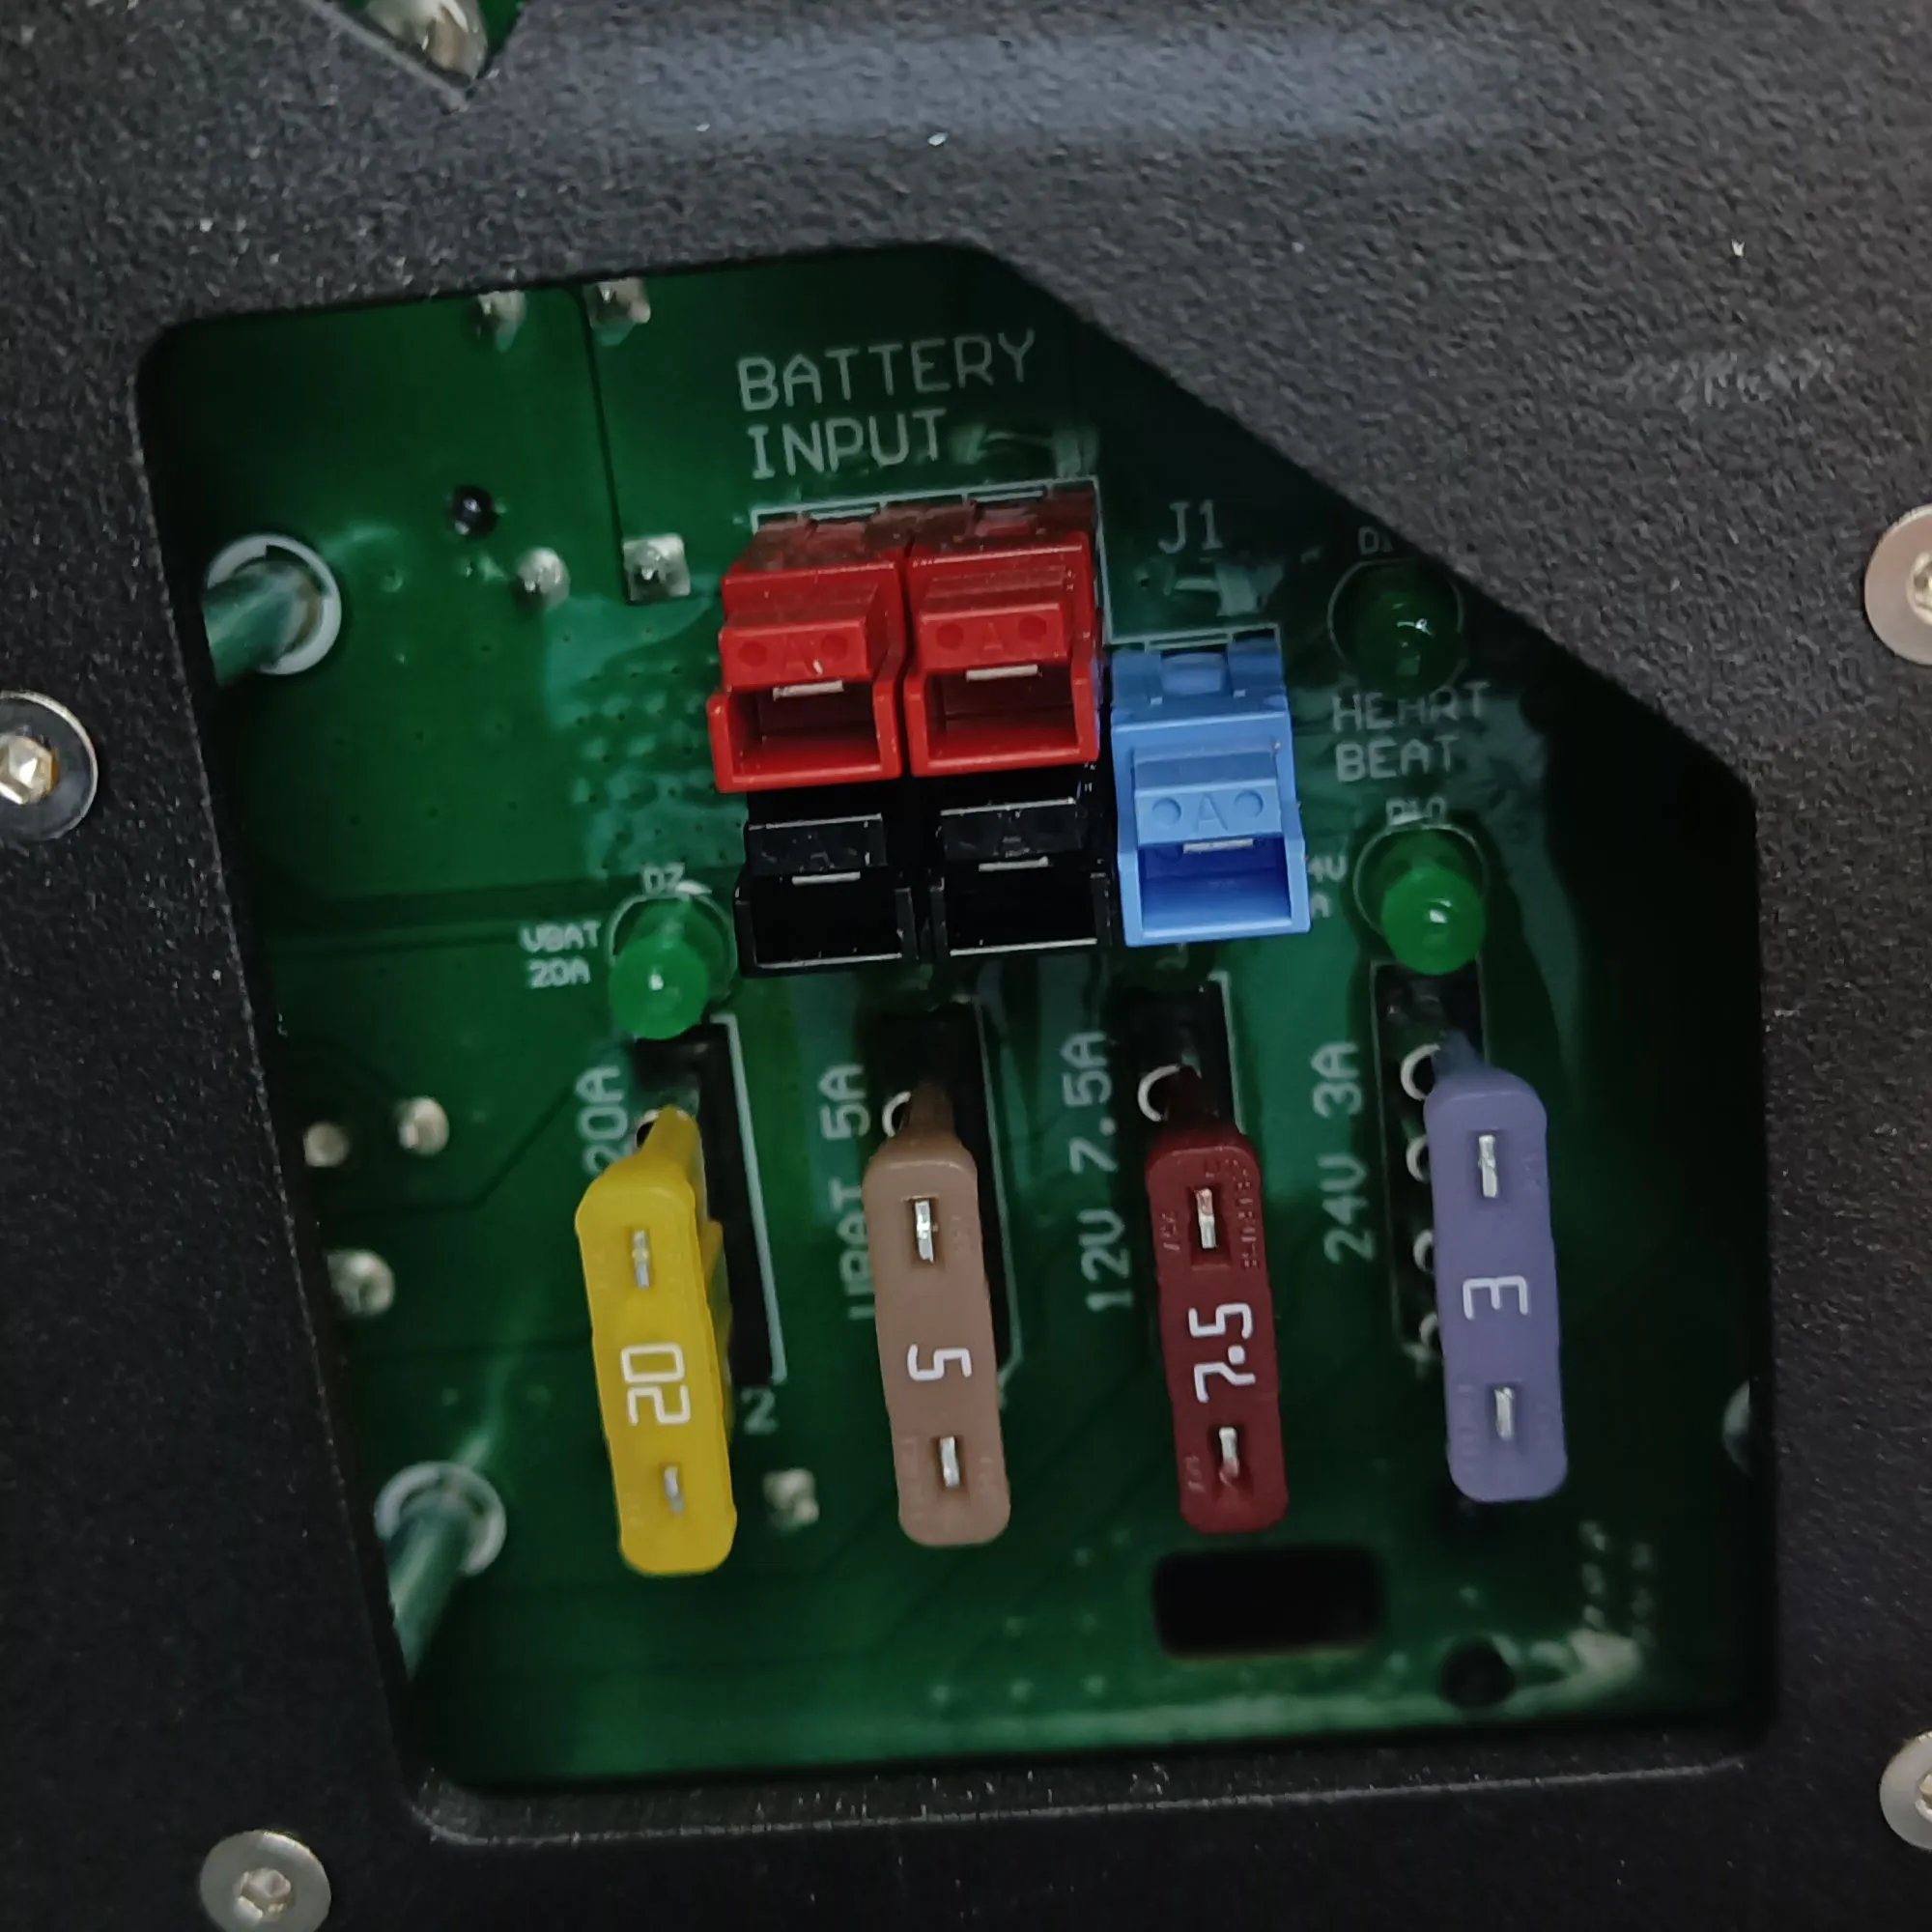
Charging Port |
Ensure the emergency button is released as well as the key is turned to the unlock position.
◦ To check if the emergency switch is released, twist the switch in the indicated direction on it. If it pops up, then the switch has successfully been released.
◦ If the robot light is yellow, it means that either the emergency switch is not released or the key is not turned.
Press the power button on the front of the Husky. It has the power symbol as displayed.
Charging the Husky
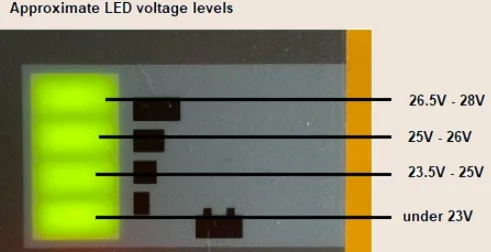
LED Voltage Indicators
The power port can be used to charge the Husky. The indicator shows the voltage levels of the Husky and does not necessarily indicate the remaining power available.
Manipulator Activation
To power-on the UR5e and Robotiq 2F-140:
ros2 service call /a200_1025/ur5e_activation/hsky_nano/srv/SerialBoolean "{data: true}"
Launch ROS2 driver for UR5e as well as Robotiq 2F-140:
ros2 launch hsky_manipulation ur5e_robotiq.launch.py
To test the UR5e and gripper you can use Moveit2:
ros2 launch hsky_ur_moveit ur_moveit.launch.py
To power-off the UR5e and Robotiq 2F-140 completely, run:
ros2 run hsky_manipulation remote_shutdown.py
Important
The hsky_manipulation driver should be running when executing the shutdown procedure.